
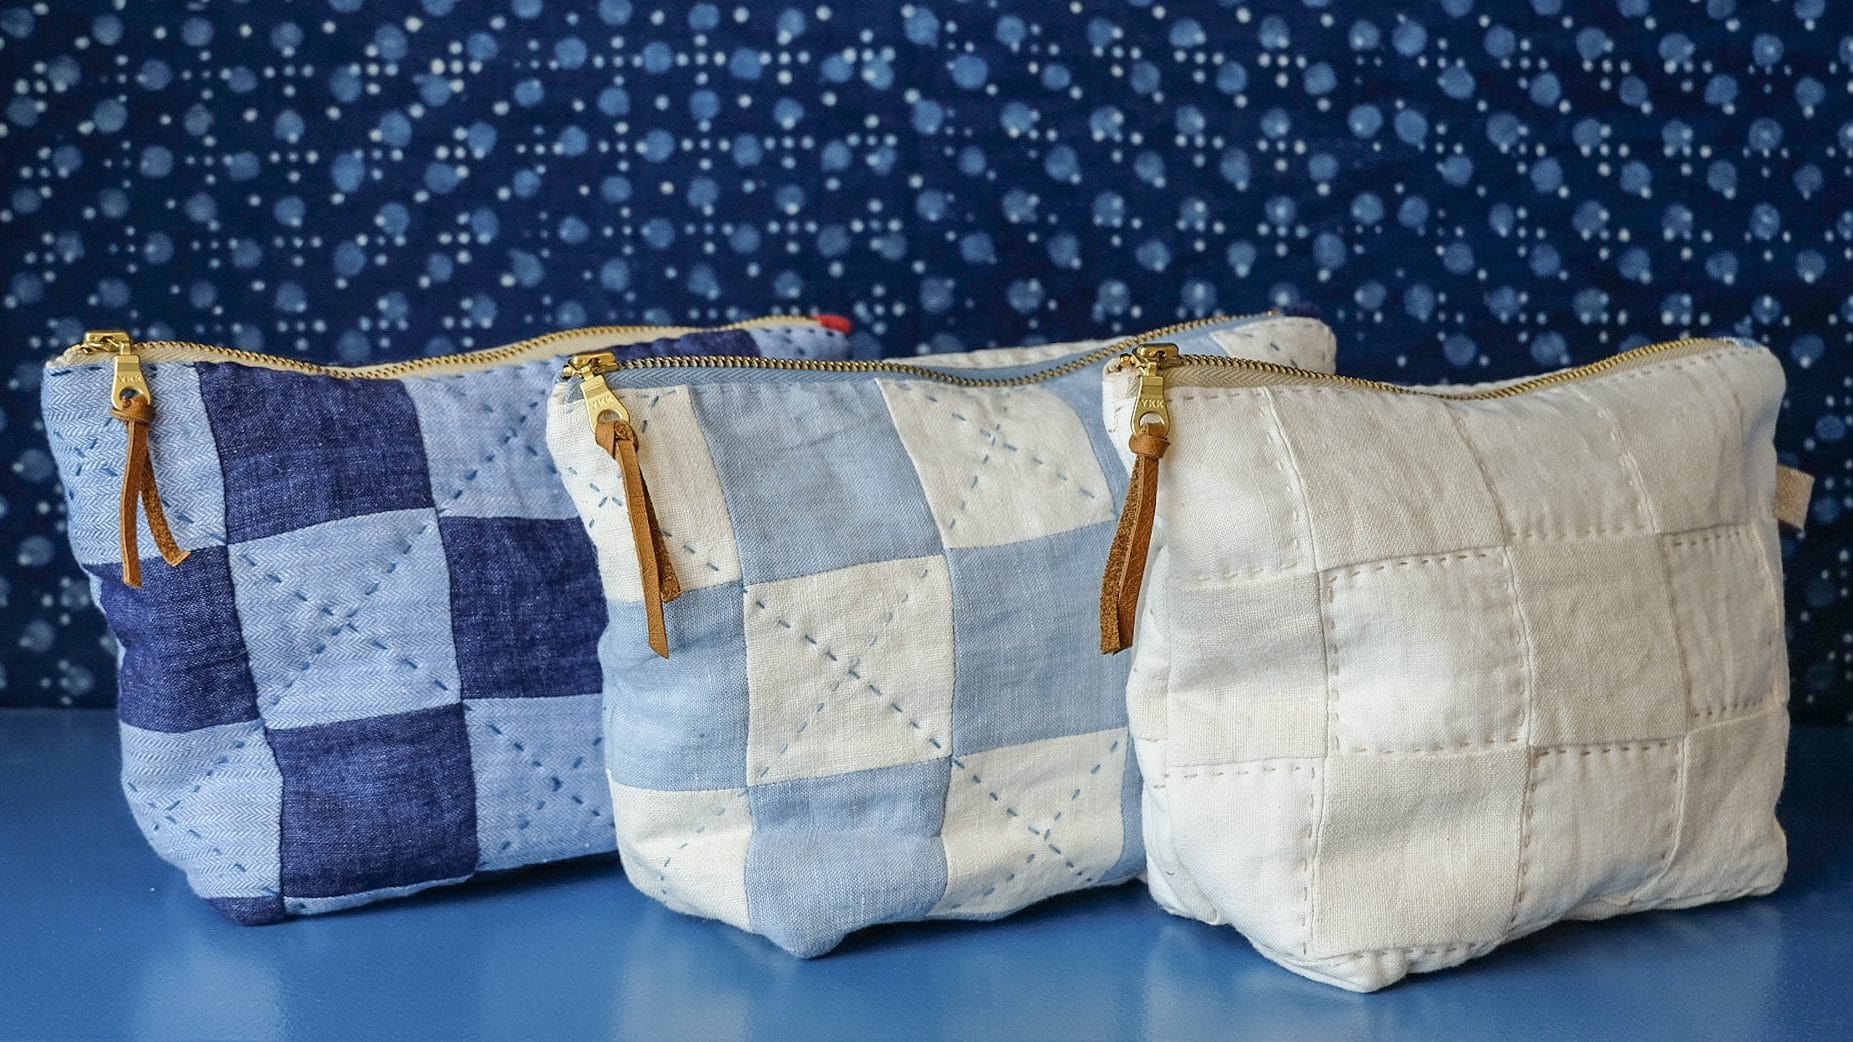
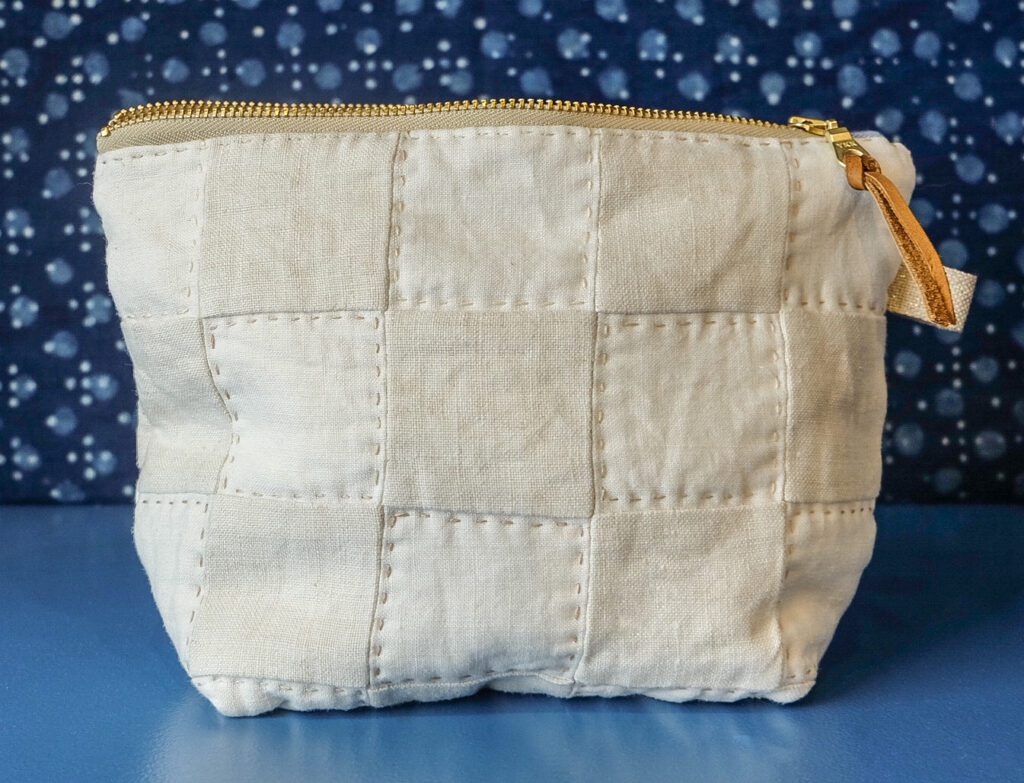
Take your hand sewing skills to the next level with this quilted zippered pouch. Learn a shortcut piecing technique to create two different pieced layouts, a stripe on one side and a checkerboard on the other. Mix and match your favorite fabric scraps as patchwork pieces and then hand quilt them using your own preferred stitch pattern. These pouches only require a small amount of fabric, so you can dig through your stash. Use old linens, thrifted shirts, or remnants from previous projects. Or treat yourself to a few yards of your favorite fabrics and make some for friends! This would make a thoughtful and beautiful holiday gift for friends or family.
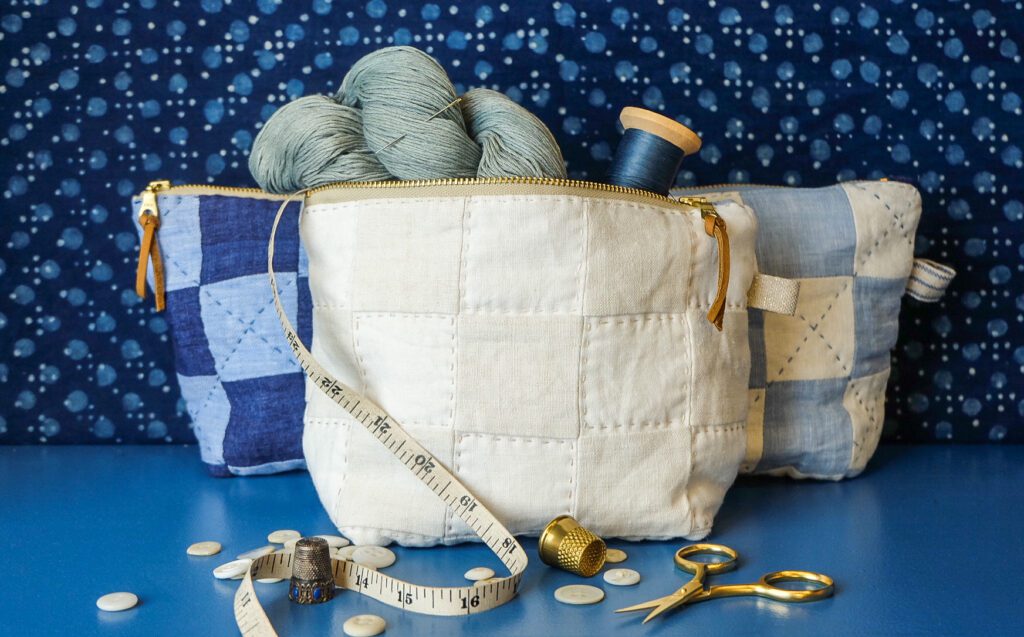
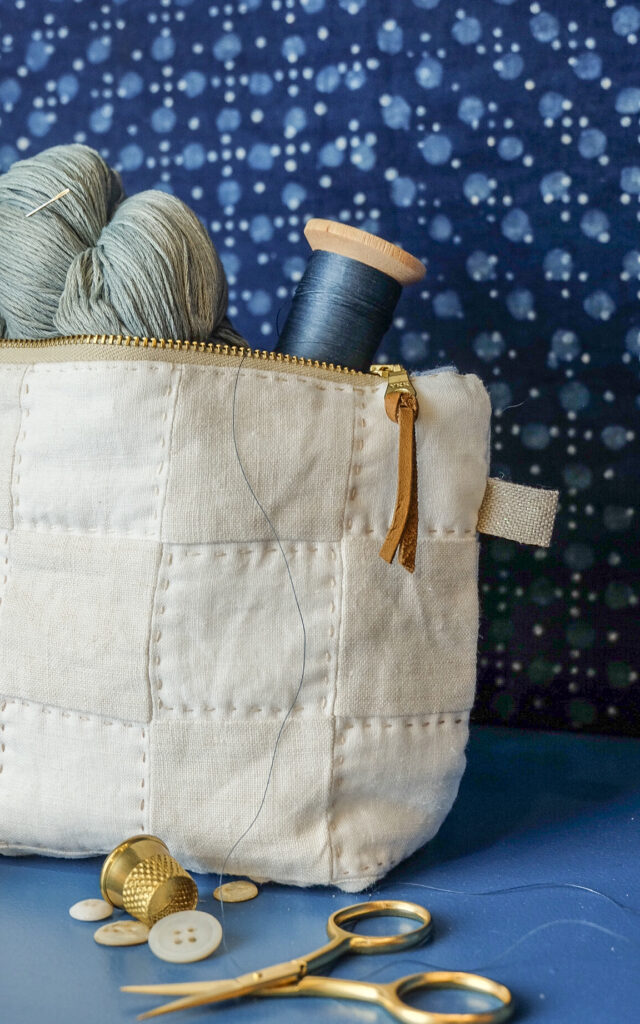
This bag is perfect for carrying around your favorite stitching supplies or small essentials.
Techniques covered in class: backstitch, running stitch, basic quilting techniques.
There will be one hour of pre-class homework. A short how-to video explaining all prep work will be provided a week before class.
Pattern included.
Dates
Three sessions: Friday, November 18th, Friday, December 2nd and Sunday, December 4th, 2022
Time
12pm – 2:30pm
Location
Zoom, a link will be sent to participants the day before class.
Cost
$105
**This class will be recorded. A link to the recording will be emailed to all registrants following the live session.
CLASS MATERIALS
Finished measurements: Approximately Approximately 9″ x 6″ x 3”
If you need to purchase fabric, here are the requirements based on 44” wide fabric. You should be able to make several with just this amount.
The pouch is fully lined.
Recommended fabrics: medium weight linen or linen blend, quilting cotton or lightweight canvas.
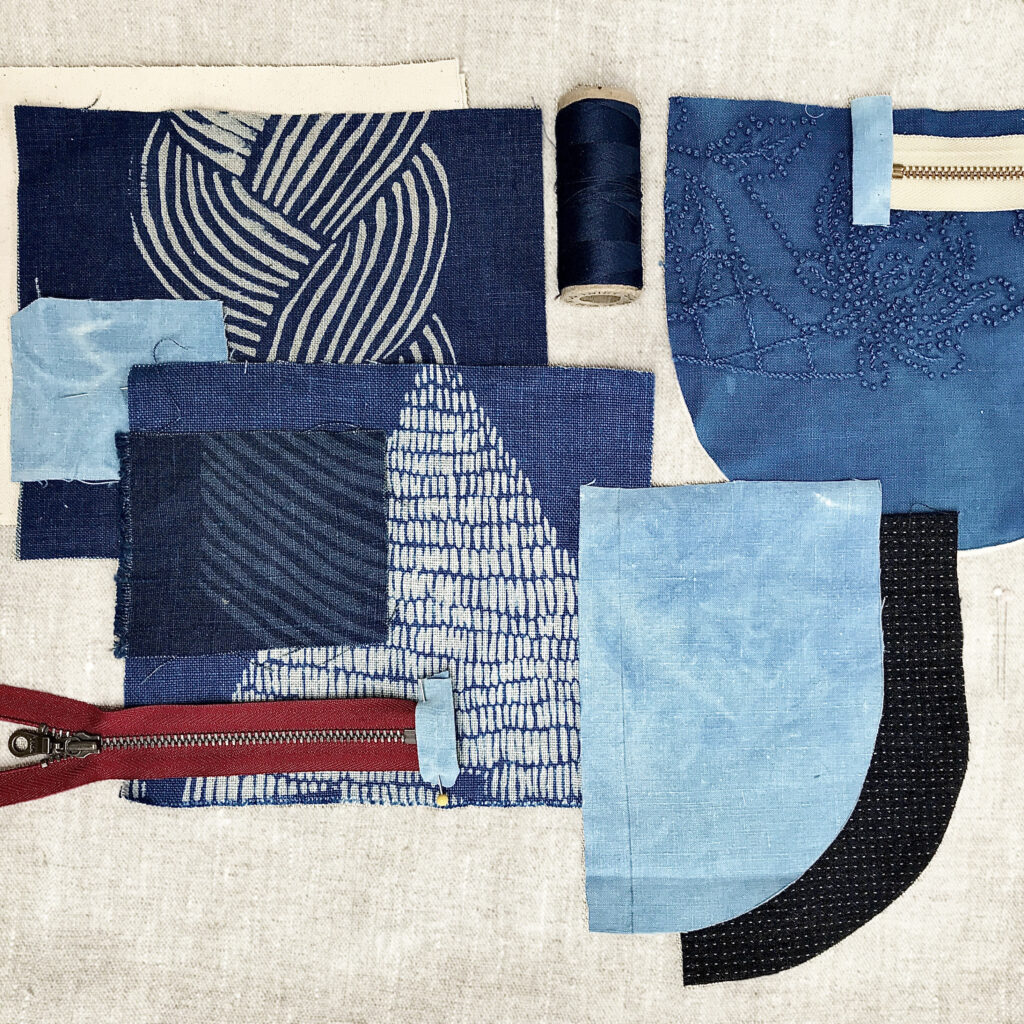
For the Exterior, two contrasting/complementary colors to make up the grid. Requirements based on 44” wide fabric:
• ¼ yd Exterior fabric A
• ¼ yd Exterior fabric B
• ¼ yd Lining fabric (I like a lightweight canvas or medium weight linen)
• two 10’ x 8” pieces of thin cotton quilt batting
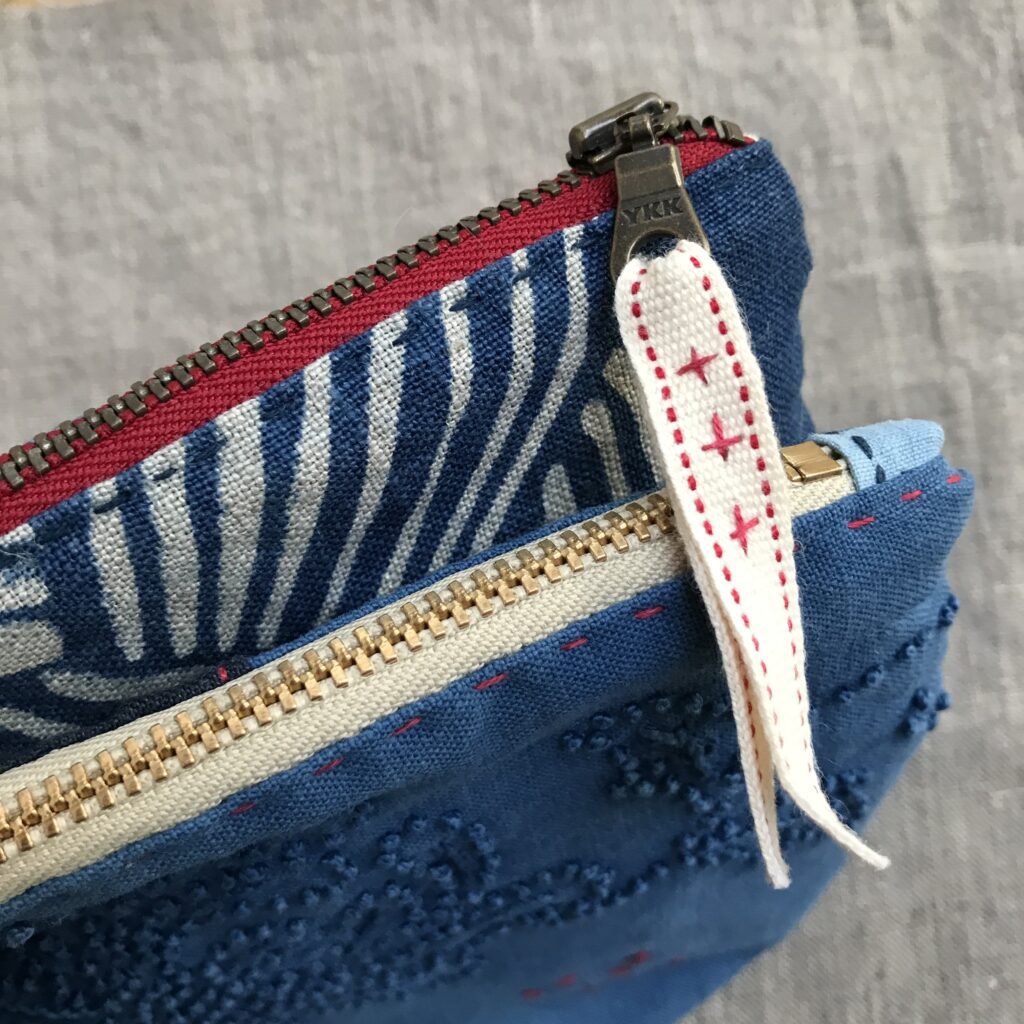
• (1) 8″ zipper (I like the metal ones from ZipIt on Etsy but plastic is fine. Measurement is for teeth only)
• (1) 6″ thin leather strip/lacing/twill tape for pull tab (optional)
• (1) 2” piece of ½ or ¾” twill tape for side tab (optional)
Additional supplies: embroidery or sashiko thread and needle, chalk or erasable marker, clear ruler, thimble, sewing thread and needle
Related Products

OUR TEACHER
Karen Stevens
For the last 25 years, Karen has been a freelance CAD instructor, training textile and fashion designers to create knits, prints and wovens for the garment industry. But these days you are more likely to find her in her creatively cluttered studio than on her computer, adding one more vintage patch to a favorite pair of jeans or double gauze shirt. Her love of visible mending, natural fibers, hand dyed fabrics and slow stitching has recently turned into a small side business, creating one of a kind stitched curiosities.
“You repair the thing until you make it completely.” – Louise Bourgeois